HOW TO USE SUNO VOICE (SUNO 5.5 TUTORIAL) - YOUR REAL VOICE IN SUNO
How to Use Suno 5.5 Voice Cloning With Your Real Voice
If your Suno voice clone sounds nothing like the song you wanted, the problem often starts before you hit create. Suno Voice can work well, but only if your recording matches the style you want the model to sing.
The new workflow is also different from the old Persona setup, so it helps to know where things moved and what matters most. Once you understand that, the process gets much easier.
https://www.youtube.com/watch?v=2AuXZbgLMa8
What changed in Suno 5.5 Voice
Suno Personas are now Voices. That change matters because the workflow no longer centers on the old Persona method. Instead, you create or select a voice, then apply it while building a song.
The biggest shift is simple, you can now train Suno with your real singing voice. That means your source recording has a much bigger impact on the final result. If you feed Suno a soft, clean sample and then expect an aggressive rock vocal, the clone may not line up with the song the way you hoped.
This quick comparison shows the change at a glance:
| Before | Now | What it means |
|---|---|---|
| Persona workflow | Voice workflow | You build around a voice clone instead of the old Persona method |
| Less direct focus on your own vocal sample | Direct voice recording, upload, or library selection | Your source performance matters more |
| Older setup | New create flow with Audio, Voice, and Inspo | You choose Voice from the Create screen |
That also explains why many people waste credits early. They treat voice cloning like a generic preset, when it works more like a performance capture. The closer your sample is to the sound you want later, the better your starting point will be.
In this workflow, the main things that matter are your recording style, the verification step, and how you apply the clone inside a new or remixed song. Those three parts shape most of the result.
How to create your Suno voice clone
Start in the Create screen
Open Suno and click Create. In the creation area, you'll see options such as Audio, Voice, and Inspo. Choose Voice, then click Create Voice when that screen appears.
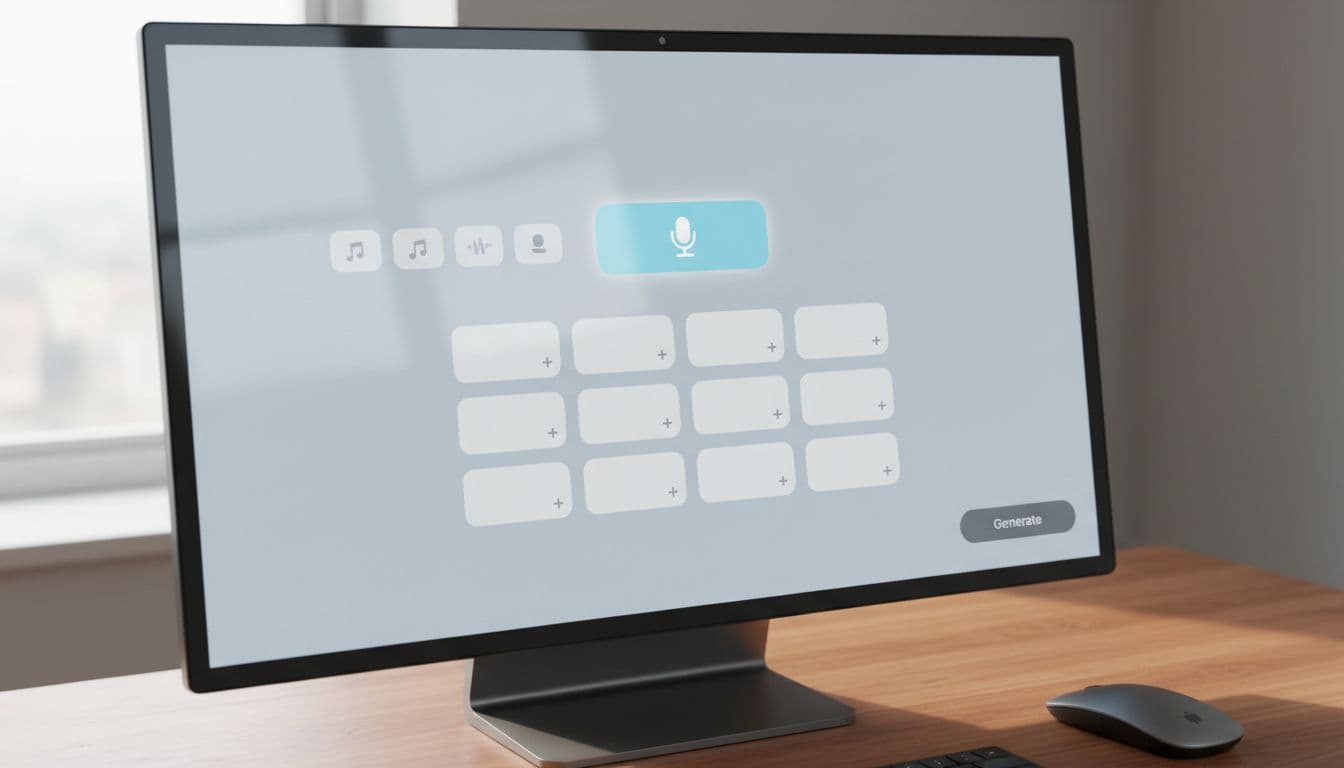
That opens the voice input screen. Before recording, Suno asks you to read the consent and check the box. After that, you can choose one of three input options. You can record your voice, upload a voice sample, or select a voice that's already in your library.
For this walkthrough, the recording option is the one used. It's the most direct path if you want to train a fresh clone from your own singing. If you've already recorded something strong elsewhere, upload can also work. And if you have a saved voice, you can pick it from your library and skip the recording step.
The interface is simple, but the choices you make here matter later. A weak source sample usually leads to a weak starting point. A matched sample gives Suno more useful material from the start.
Record your voice sample in the style you want
This is where the most common mistake happens. Many users record one kind of vocal, then try to use it in a very different style of song. When that happens, the clone and the song can feel disconnected.
Best shortcut for a better clone: sing your sample in the same style as the song you want Suno to create.
If you want a soft pop or soft rock result, sing that way in the sample. If you use a playful or exaggerated voice, keep that in mind, because Suno will build from what you give it. Think of the sample like the mold for the final vocal. If the mold is off, the result can be off too.

A few practical recording habits also help a lot:
- Record in a quiet room with as little background noise as possible.
- Sing clearly and as well as you can, because messy input often gives messy output.
- Keep going until you've recorded about 30 seconds, which is when the record light turns green.
Once the light turns green, stop recording and click Done. Then listen back to the audio. If you need to cut extra space or a rough start, trim it. If the take doesn't sound right, hit Start Over and record again. If it sounds good, click Use Voice.
That small review step is worth taking seriously. A rushed take can follow you into every song you make with that clone.
Verify your voice, pick your singer level, and save
After Suno accepts your recording, it asks you to read a line of text on screen to verify your voice. This step sounds simple, but it's another place where people trip up.
If the original recording used a certain tone or character, try to read the verification text in that same style. For example, if you made the clone with a strange or exaggerated voice, use that same strange or exaggerated voice when reading the text. If you switch styles too much, verification can become harder.
If verification gives you trouble, match the way you speak the prompt to the way you sang the sample.
Next, Suno asks what kind of singer you are. In the example shown, intermediate was the setting used. That worked well because it matched the creator's sense of their own singing ability. There isn't a single perfect choice here, so some trial and error makes sense. If one setting doesn't give the feel you want, try another and compare the results.
Once that part is done, save the clone. Give it a name, then add a style tag and a description if you want. In the example, the voice was tagged in a soft rock or soft pop direction, because that matched the way it had been sung. After reading the consent, click Save.
At that point, your clone is ready. Suno adds it to the creation screen, so you can move straight into making music with it.
The mistakes that cause most Suno voice problems
Voice cloning doesn't usually fail because the feature is broken. More often, it fails because the input doesn't match the goal. The main issues from this workflow are easy to spot once you know what to watch for.
Here are the big ones:
- Recording in the wrong style for the song
- Using a noisy room or weak vocal take
- Reading the verification text in a different voice than the sample
The first problem is the biggest. If your sample sounds like a soft, airy vocal and your target song needs punch and drive, Suno has to stretch too far. The result may still be usable, but it won't feel as natural. That's why matching the sample to the target style can save credits and time.
The second issue is more basic, but it still matters. Background noise, sloppy phrasing, and low-energy singing all make it harder for the clone to sound clean. Suno can only work with the material it gets.
The last mistake shows up during verification. People sometimes record one kind of voice, then read the prompt in a normal speaking tone that sounds completely different. That mismatch can cause trouble, especially if the clone was built from a stylized voice.
If you fix those three things, your results usually improve fast.
How to make a new song with your voice clone
After you save the clone, Suno places it on the creation screen. If you don't see it there right away, go back to Voice and choose it from your available voices.
From there, create your song the way you normally would. Add your lyrics. Add your style. Then let the voice clone handle the vocal side of the song.
One useful detail here is that the extra options were left at their defaults in the example. No exclusions were added. No gender was selected. None of the sliders were changed. That gave a good starting point without overcomplicating the first attempt.
That matters because many people try to tweak too much too early. Starting with the default settings lets you hear what the clone does on its own. Then, if you want to shape the result later, you have a clear baseline.
Once the lyrics and style are in place, add a title and hit Create. That's enough to generate a fresh song using your saved voice clone.
If you still need an account, the Suno sign-up page for creators is the link shared with the tutorial.
How to put your voice on a song you've already made
You don't have to start from scratch every time. If you already made a song and want to hear it with your voice clone, Suno gives you a remix path.
Go to the song, click the three dots to the right, then choose Remix Edit. From there, use style and lyrics to generate a new version with your voice clone.
The important thing to understand is that Suno won't make an exact copy of the original track. Instead, it creates a new version of that song with your voice clone singing it. That's a useful distinction, because it sets the right expectation before you spend credits.
The same low-pressure approach works here too. Leaving the defaults alone can still produce a strong first pass. If the remake gets you close, then you can fine-tune later.
This is a good option when you already like the writing or structure of a song, but you want it to sound more like you.
What the Suno voice results sound like
The example result came out strong enough to feel promising right away. The creator even compared the song against their speaking voice and invited listeners to judge whether the generated vocal sounded like them or not.
That comparison is smart. After all, you've heard your own speaking voice your whole life, so it's easy to notice when a clone feels close and when it drifts. The sample lyric in the song was short and simple, repeating lines like, "Yeah, A B C, you got to live like me," which made it easier to focus on the tone of the voice instead of getting distracted by a complex arrangement.

A few takeaways stand out from that result:
- The clone sounded pretty good even with default settings.
- The singer level and style tags can help shape the outcome.
- Fine-tuning can come later, after you hear your baseline result.
That's a useful way to test Suno Voice. First, make a clean clone. Next, generate a simple song. Then compare what you hear against the voice you expected. If it sounds close, you're on the right path. If it doesn't, the fix often starts back at the recording stage.
Your best Suno clone starts with the sample
The core lesson is simple, match the voice sample to the song you want to make. When your recording style, verification voice, and song direction all line up, Suno has a much better chance of giving you a believable result.
If you want more Suno tutorials and AI music workflow tips, the channel also shares a spam-free email list for monthly updates. Then try one clean 30-second take, keep the defaults on your first song, and judge the result with fresh ears.

